Ribbon Interface Basics
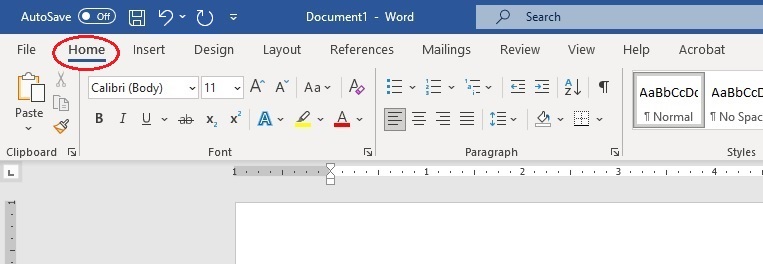
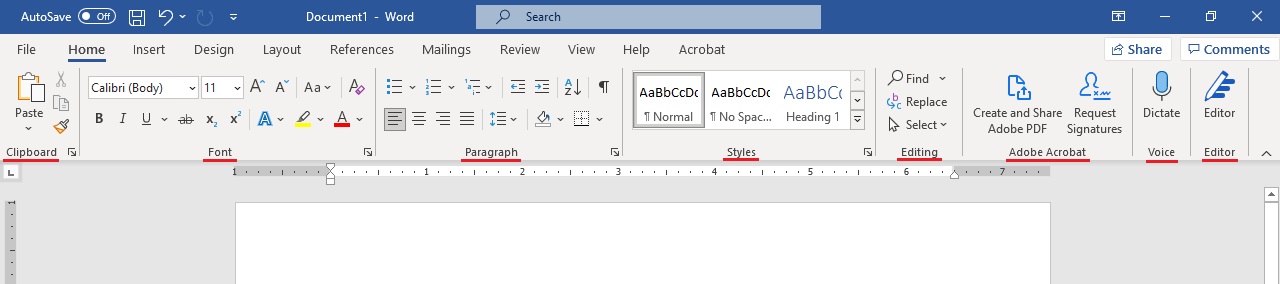
The top banner of features on Word is referred to as the Ribbon. The Ribbon includes the Ribbon tabs (just below the top blue banner) and specific commands for each Tab. Clicking any tab will take you to the Ribbon commands for that heading.
When you open a new or existing document, the Home tab will most likely be selected, indicated by a blue underline. This is the tab that is used for most simple edits to a Word document. For most word processing uses, you will want to maintain the view of the Ribbon and commands for easy access. In general, you will also want to maintain the view of the Home tab.
Quick Access Toolbar
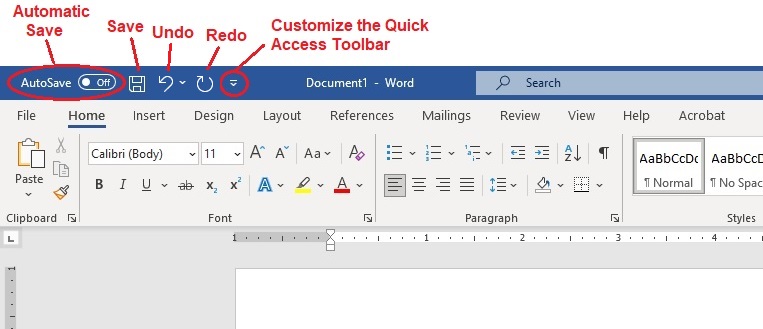
The commands in the upper left of the blue banner are part of the Quick Access Toolbar. The default settings include a switch to turn on/off the Automatic Save feature, the icon of a floppy disk to Save, the back arrow to Undo, and the return arrow to Redo. You can also select the drop-down arrow which will allow you to add or remove specific commands from this location.
Right-Hand Corner Commands
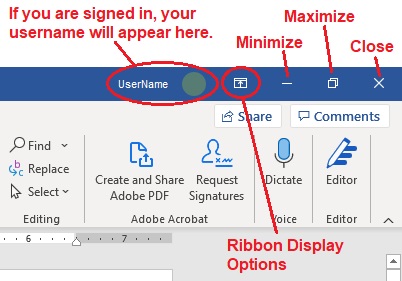
In the right-hand corner of the program, from right to left, you will see commands for closing the program, maximizing or minimizing the program window, adjusting ribbon display options, or signing into MS Office. Signing in is not necessary in order to use Word, but may be helpful if you are coordinating multiple devices, accessing the Cloud, or working collaboratively with other users.
Ribbon Display Options
For general editing, it is recommended that the Ribbon and its commands remain visible. If the Ribbon or commands are not visible, they may have been deselected from the Ribbon Display Options icon. Clicking the icon will allow you to choose from three options: hide the Ribbon completely, show only the ribbon tabs, or show the tabs and commands.
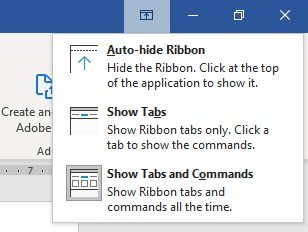
If Auto-hide Ribbon is selected, the ribbon will be completely hidden. Clicking the three dots in the upper right corner of your document will restore the Ribbon view.

If Show Tabs is selected, you will see the tab names in the Ribbon but not the accompanying commands. Once you click a particular tab, the commands for that tab will display. The commands will disappear again after you return to the body of your paper.

The Show Tabs and Commands option is recommended for editing and creation. This will allow you quick visual access to all the most important commands at any time.
Note: The other options may be useful for public presentations -- for example when you are displaying a completed Word document from a laptop to a projection screen for others to view -- but are not optimal for document creation and editing.
Ribbon Categories
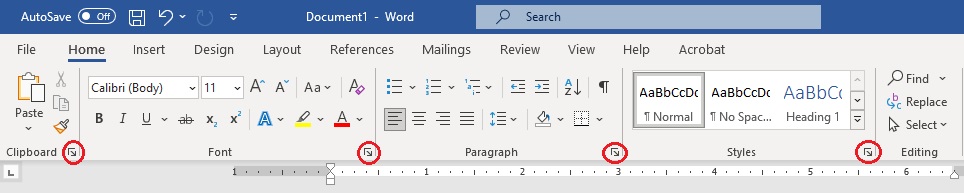
The Ribbon for each tab is separated into categories. In the Home tab, for example, you will see categories called Clipboard, Font, Paragraph, Styles, Editing, Adobe Acrobat, Voice, and Editor. These labels are found at the bottom of the grey ribbon.
Each category has commonly used commands accessible directly from the Ribbon. Hovering over the icon for each feature with your mouse will allow you to read a short description of what the feature does and will also provide you with the keyboard shortcut for the command.
When additional commands are available in a category, a drop-down arrow icon will appear in the bottom right hand corner of the category. Hovering over the drop-down arrow icon will give you a description of the features in the category. Clicking it will open a window of the features available in the category, along with the extended options.
Selecting New Tabs
Each time you click a new tab from the blue banner a different set of Ribbon commands specific to that tab will appear. Home, Insert, Design, Layout, References, Mailings, Review, View, Help, and Acrobat all include their own Ribbons of commands.
Unlike the other tabs, however, the File tab does not include a traditional ribbon. Instead, the File tab takes you to another page, which Microsoft refers to as the "Backstage View."
Optimum View Tab Commands for Editing
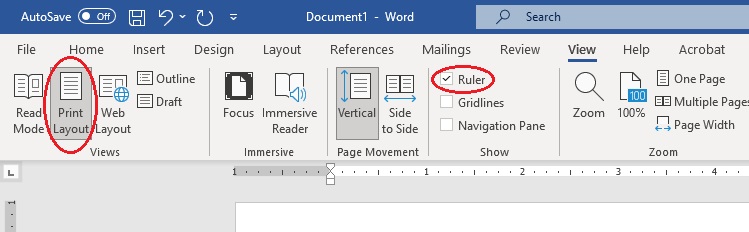
A portion of the ribbon commands for the View tab is shown below. For most editing and document creation options, it is helpful to have the Ruler box checked and Print Layout selected.
The Read Mode option is not appropriate for editing or document creation, but may be used to display a presentation with others or to preview text in large font. The Read Mode option appears to the left of Print Layout option on the Ribbon. In addition, the read mode quick-select icon also appears to the left of print layout icon at the bottom right of the screen. When Read Mode is selected, the text will appear with a minimum number of tabs in the blue bar, larger text font in the body of the work, and forward and back arrows for advancing through the text. Read mode is shown below.
To return to print layout, click the Print mode mini icon at the bottom of the screen. Or, select the View tab from the blue tool bar and then choose the Edit document option.
Additional Tabs and Ribbons
Remember that each time you click a tab from the blue banner a unique set of Ribbon commands specific to that tab will appear. Click and hover over the features in each of these ribbons to preview what MS Word can do and what options you have for editing and enhancing your documents.